Last week I talked about how Level Transitions allow us to change anything in the level either at level load time or, if a loading screen is okay, once a level has been loaded. We can add a wall, have a bridge that was standing be destroyed, change weather or theme, or anything that causes the player to have to find a different path through the “same” level. But level transitions don’t replace having parts of a level be destructible.
Today, I’m going to go over our Destructibles.
Destructibles are objects in the game that can be destroyed by walking into them, sprinting through them, rolling or dodging into them, or by attacking them. The goal of destructibles is to make the world feel more alive, solve a few gameplay needs, and to just be fun. It’s fun, either intentionally or accidentally, to break a destructible and see the chaos unfold.
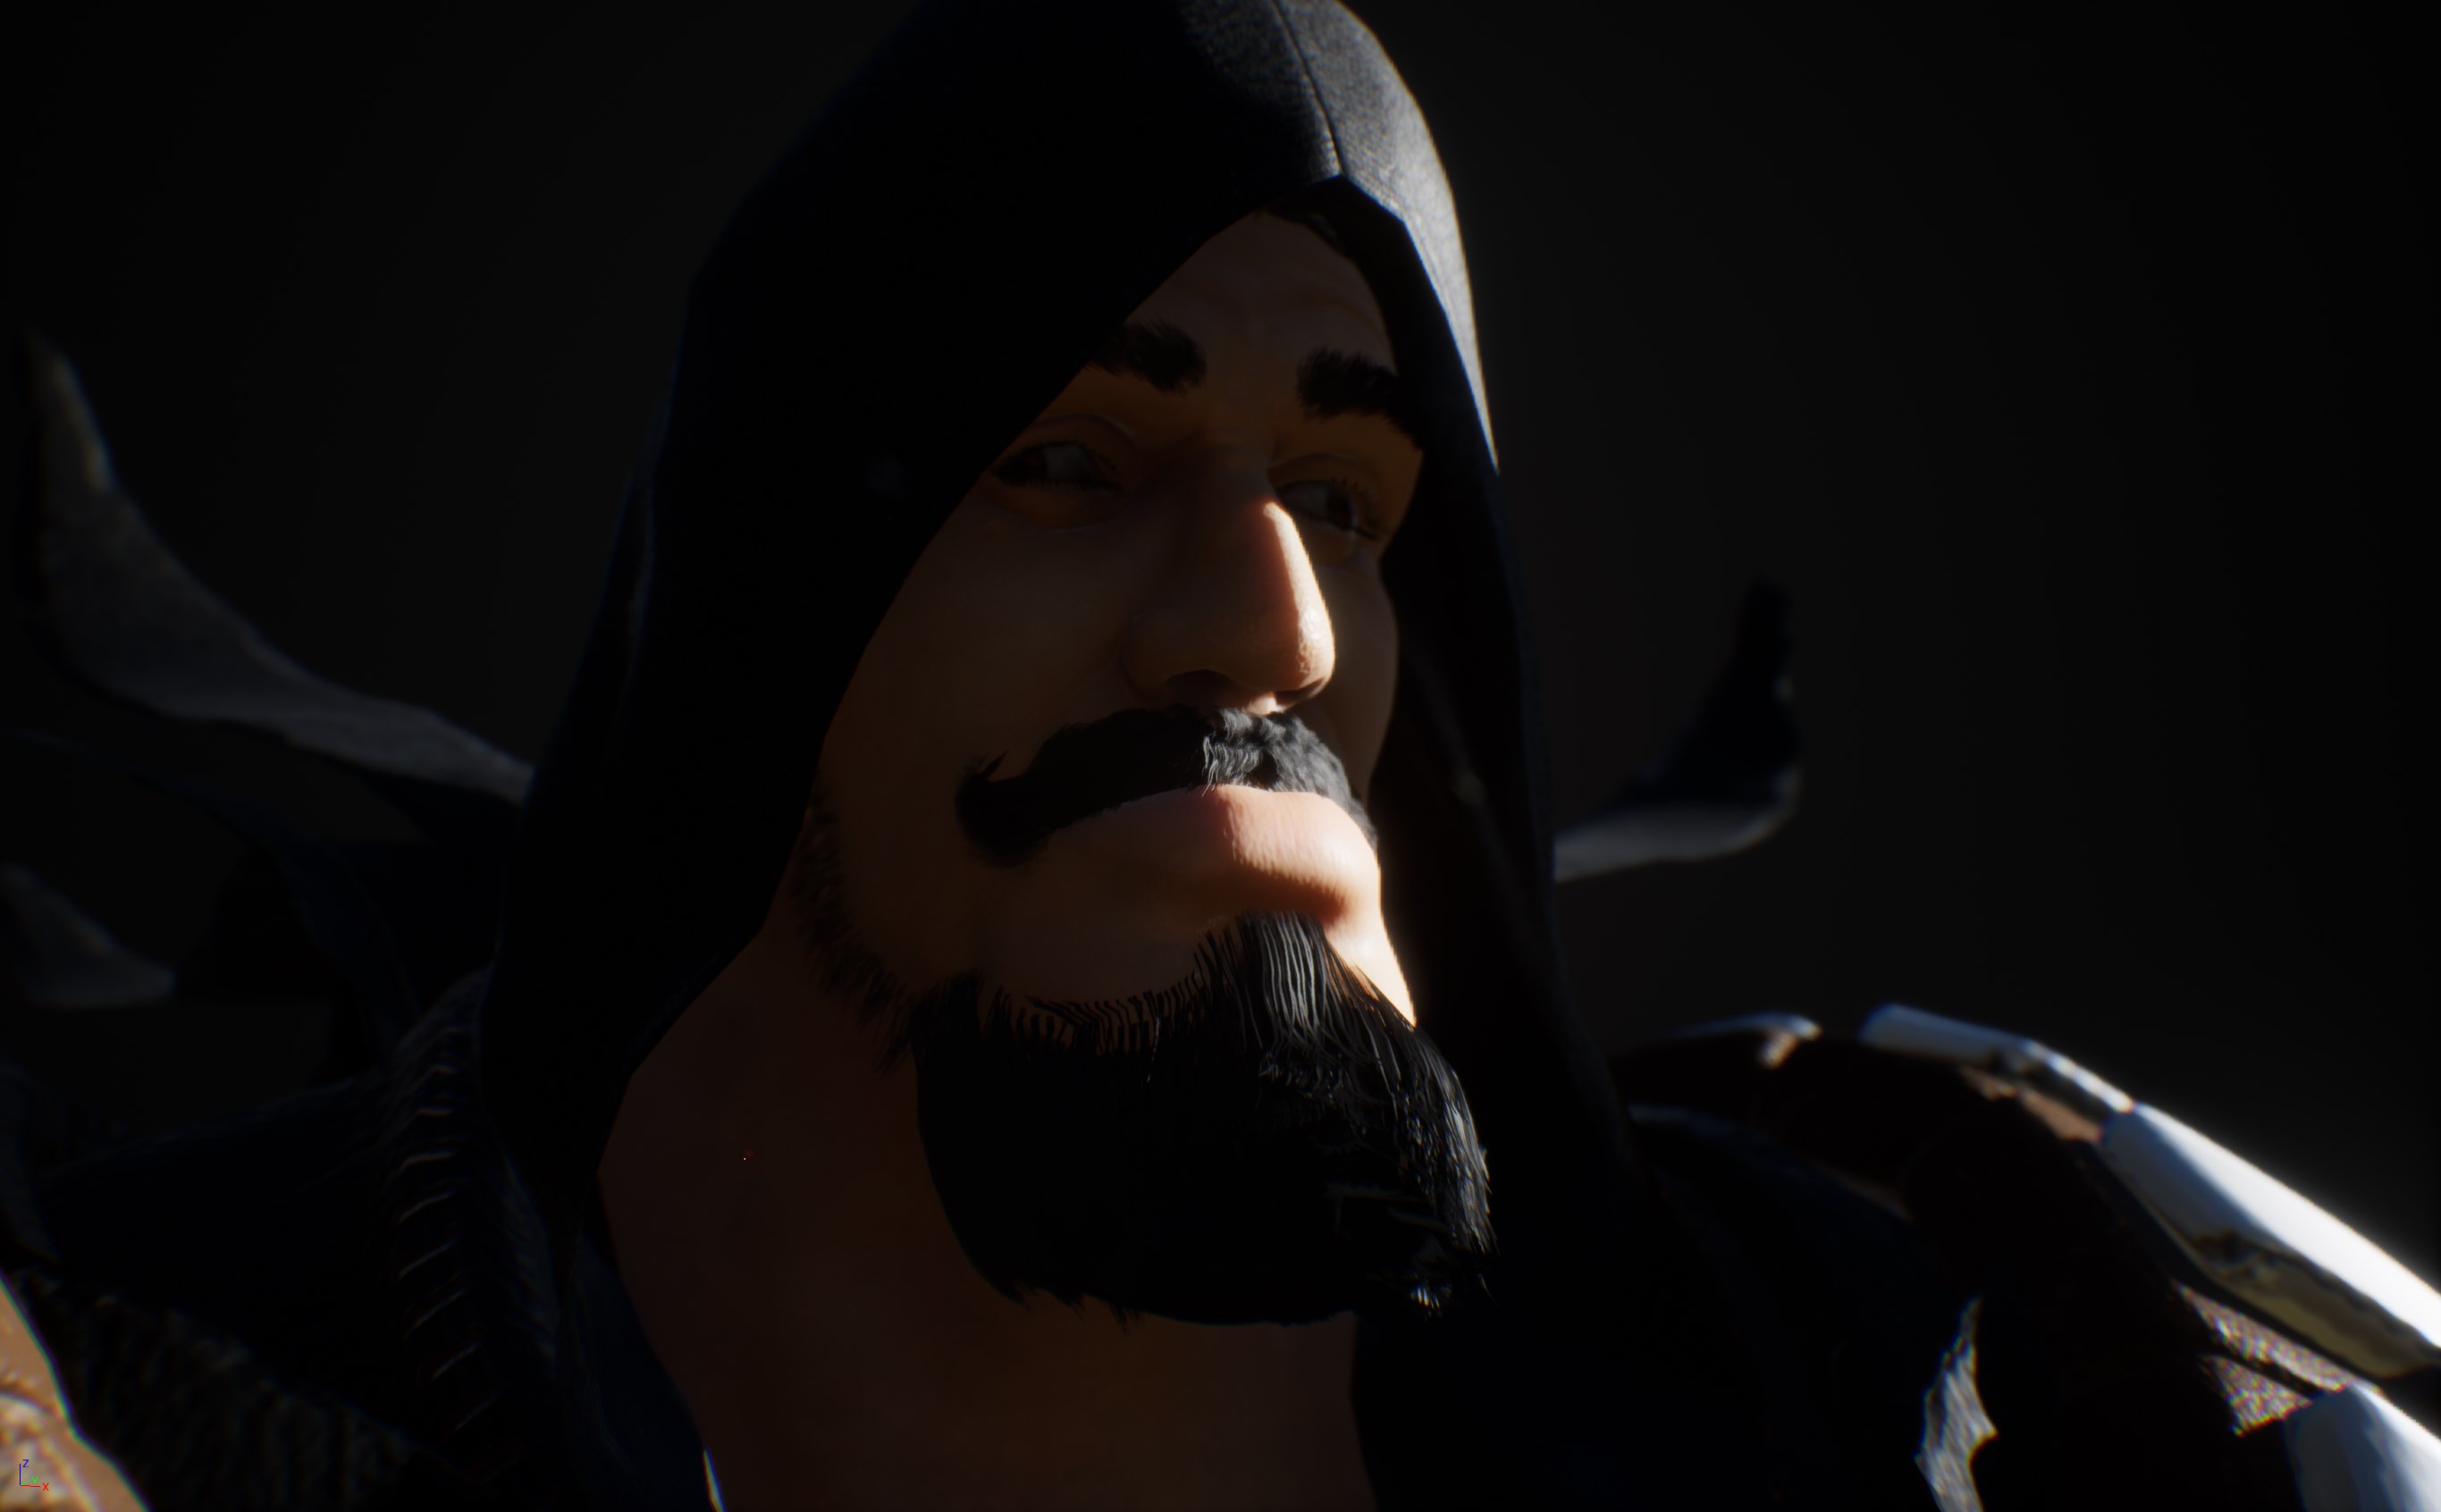
Statues not as strong as they look.
We like the idea of cover that is destructible so that taking cover from the Heavy Archer on the bridge in the playtest is possible, but you can’t camp there for too long.
Cover can help a lot, but you can’t camp forever.
We have also used destructibles to delay the player from getting from place to place.
Hey! That wall has cracks in it!
Destructible Implementation
In Mortal Rite, destructibles are actors that have one or more static meshes that, based on criteria, can be broken. Upon breaking the destructible a Gameplay Cue is set off and the destructible actor is deleted (deleted here means that the actor is no longer visible and no longer has collision). A Gameplay Cue is a mechanism for easily displaying visual effects for multiple players. The Gameplay Cue knows how to properly display the visual effects for the destructible’s mesh or meshes and can be referenced easily using a Gameplay Tag.
Base destructible settings.
Destructible settings available to a developer:
Lifespan: Time the destructible lives once it is broken.
Tags Must Have to Break on Overlap: Tags that must exist to break when something overlaps the destructible.
Tags Break on Overlap: Tags that will break the destructible on overlap.
Gameplay Cue Tag: The Gameplay Tag for the Gameplay Cue to use when this destructible is broken.
Lock on by Player: Allows this destructible to be locked on by a player.
Lock on by Ai: Allows this destructible to be locked on by an Ai/Enemy.
Startup Tags: Tags that identify this object in the world. In this case, this is a destructible, and we can query for objects with this tag when we want to find destructibles within an area or in the level.
Bookcases
Ways to break destructibles
Overlap: When a character overlaps with the destructible, a check is done to see if the character meets the criteria to break the destructible. The first check is for Must Have Tags if they exist. If the character that overlapped with the destructible does not have all of the Must Have Tags set on the destructible, then the destructible cannot be broken on overlap by the character. The second check if for the Tags Break on Overlap to see if the character has at least one of those tags. This means that a developer has the ability to determine exactly what can break a destructible. Developers can create destructibles ranging from a destructible that will break if anything overlaps with it, to a destructible that will break only if Shold overlaps it while specifically wearing his Rock Armor and sprinting, to a destructible that will only break if a Boss overlaps with it. Very flexible.
Damage: Destructibles are also on a team. Teams is how we control whether or not something is hostile to any entity in Mortal Rite and only hostile entities can do damage to each other directly (e.g.: sometimes AOE damage doesn’t care about teams at all). If some entity is on a different team, we consider those two entities hostile to each other, and this holds true for destructibles as well. Destructibles default to team 69 (for obvious reasons), which is a team that is hostile to players and, even if the enemies are on different teams allowing them to attack each other, is a team that is hostile to enemies. Destructibles can be setup to have any amount of health so that we can control how easy it is to break them with damage. Sometimes you want to delay a character from entering an area by using a high health wall and sometimes you just want a destructible that doesn’t break on overlap, but will is the player attacks it once.
Other Use Cases
Shold’s rock abilities use destructibles that have their team set to the owning Shold’s team so that enemies can target them and, after a bit, break them, but friendly players cannot break them or target them.
Level transitions are what I am calling the system that replaces most of the previous systems and logic used to determine what gets loads dynamically in a level. Specifically a component that is globally accessible called a LevelTransitionComponent (LTC).
The LTC manages Data Layers that are part of Unreal Engine 5’s World Partition system. LTC allows level designers to setup configurations for each map that define the following Data Layers:
Level: Additional terrain or geometry in the map to meet specific needs. This could come in the form of a wall that blocks access in a specific configuration while another configuration would have no wall and allow access to meet the needs of another configuration. Note: This does not replace destructibles in levels that players can interact with within a level. Destructibles still exist. (Probably talk about destructibles next week).
Theme: Global Lighting, Weather
Items: Item layouts specific to a configuration. Allows dynamic item layouts.
Enemies: Enemy layouts specific to a configuration. Allows dynamic enemy layouts.
NLT: Test Clip Configuration
Level designers may create any number of configurations for each number of players in a level.
Data layer transitions
Above is a clip from a test level of the data layers transitioning between unloaded, loading and activated.
NLT: Base
When a level is loaded, the LTC shows the loading screen, determines which configurations are valid for the level and the number of players. The LTC then uses a seeded stream to determine which configurations to load as needed. Once the configuration is chosen, the LTC replicates the needed information to any attached clients (for multiplayer) and waits for the clients to report that they have loaded the Data Layers needed for the chosen configuration. It’s necessary to know when all clients have loaded the configured data layers so that all clients can have their loading screen hidden at the same time.
NLT: Living Trees
LTC has other helper functions such as a function to load the next configuration and a function to reload the current configuration and Reload Current Configuration that are exposed to Blueprints.
NLT: Dead Trees
Below is a video showing the Nanite Lumen Test level in a very unfinished form. For this clip the NLT level was setup with 3 themes (Cloudy, Thunderstorm, and Dust Storm), and 3 level layers (blank, dead trees, and living trees). Using those layers the following configurations were made: Cloudy/Blank, Thunderstorm/Living Trees, and Dust Storm/Dead Trees. The clip shows Dawksin in a configuration that has a wall blocking him until he uses a trigger to cause LTC to load the next configuration. By the end of the short clip, Dawksin has gone through all 3 test configurations.
In a real level that players will be going through, they would be presented with a combination of themes, level layouts, enemy layouts and item layouts that would not repeat until all available combinations have been used at least once.
The clip is kind of a quick test of the LTC using real assets and it might not look very impressive, but it has helped iron out a lot of bugs.
Current known Issue: First level theme load causes shader compilation which delays the level from being lit even with sizable delays. Hopefully have a fix for this soon.
This week was all about adding in Dawksin’s Hunters Charge ability.
While relatively straight-forward there were a few hiccups that were a tad unexpected. The idea of the ability is the tap version lets you blink towards an enemy and strike, applying some stacks. The hold version lets Dawksin pass through enemies dealing damage to anyone in the path.
This’ll be no problem, I can have it done today.
Me
But he did not have it done today
Step 1 was getting the animation back in there, but from the retargeting fiasco, Dawksin’s legs were punching through the floor. On top of that, looking at the animation with fresh eyes, it didn’t have the strength to show he was hitting hard. So I reworked it a little, and had Anthony polish it up.
Not so greatLook at that stronger ending pose!
So cool, with that we can dump it in the engine, and wire it up to play!
Which technically works, but we’re missing the bits that tell him to move forward and restrict input during the move.
So here’s were we get to add our anim notifies that tell him how to move.
What’s an anim notify?
a curious reader
Look at you, asking all the right questions.
These are little tags with data we can throw onto an animation, that say “Hey do something at this point in the animation!”
So for example:
This is more or less what it looks like for hunters charge
So how do we break this down? Ignore the long green bar, thats just the animation itself.
Light Green: Prevent additional abilities from activating
Gray: Add some flags on Dawksin.
Ex: 1st one speeds up his rotation in case you want to change your aim
Ex: 2nd one locks your rotation so you can’t make Dawksin spin in place while moving.
Darker Green? (I made too many things green) : Tells Dawksin to move
Red: Damage windows. One for each blade.
Blue (Beginning): Lets you change your rotation even if you’re locked onto a target
Blue (End): Ends the animation early if you’re trying to move.
We do put a lot of thought into how each ability feels, so all these notifies are there to make sure it feels good to use. This is also how melee attacks are built.
So if we dig into the movement notify, we can see a ton of options for how to make Dawksin move. In this case, we’re making him move 1000 units forward over the length of the notify which is like 0.13 seconds.
So now our move ends up looking like this:
eyyyy makin progress
But that’s not quite a blink is-
ADDING IN THE BLINK
The blink needs Dawksin to disappear, which is no problem, we can make him do that.
It would be pretty swell, if he came back though.
Lets add his weapons to the mix, and make him re-appear. I think that’d be for the best.
And with that, we have the basis for the tap portion complete.
That doesn’t look very good.
The visual effects connoisseur
VISUAL FX
Here we can add some flair to communicate when Dawksin should be doing damage. In the anim notify windows above, we defined when Dawksin was doing damage with each blade.
That’s fine and all, but we need to –SEE- when he’s doing damage.
So here we can add weapon tracers, courtesy of Rod.
Um… while that looks kinda cool, the tracers are not really showing the path of his weapons. Lets look into that.
So it turns out there’s a bug in the stock effect attachment code from the engine.
Here the tracers are being attached to each weapon bone, which is great, however, the code looks at that and says “ah yes, lets attach it, AND lets take the location of the bone, and offset it permanently”
I can’t override the behavior since we’re using a binary install of the engine. So you know what that means.
We’ll re-write all of it.
A sad Alex
Not my favorite thing to do. I typically avoid this as much as I can, but in this case, we attach a lot of effects, so this would affect a ton of particle systems.
A few hours later we now have our own attachment code with all the same bells and whistles. In addition, we can now specify our own custom offsets in case things don’t line up perfectly.
oo how fancy!Hey that looks right
We’ll tie it all up with the vfx of his cape showing when the blink starts and ends, and some tracers to show the path he traveled.
So that’s most of the ability complete.
From here we start taking care of the edge cases. Anthony showed last week how we could have attacks that take into account when Dawksin stows his weapons, so I added a new variation for when his weapon is stowed.
And to speed things along, I took the same principles from here and made the Hold version.
The main difference was his blades don’t really do anything here, its the path he travels along. I take a snapshot of where his location is, and when his movement is finished, we trace a big ol box to determine who was damaged.
And that’s all I had time for, see ya’ll next week.
Howdy, this week has been all about animation retargeting. I briefly covered it last week, but this week we may have made a promising breakthrough.
If all goes well, we can retarget EVERYTHING from the old project with minimal cleanup ( feet going through the floor, hands and weapons point the wrong way, etc.) That means that unlike how it took roughly a week to get Dawksin back up and running, in 2 weeks we could have ALL of the enemies brought back.
So with that great promise, comes a few…RESTRICTIONS. Lemme explain.
With the old project, most enemies and character had their own custom skeleton, each with their own animations. This made it really easy to keep a character self contained, but made it impossible to share animations across characters.
When we started working on the cultist, we made a decision to stick to one skeleton, and reused Dawksin’s skeleton, which was great, but it had the unfortunate side effect of keeping the original proportions.
He’s a bit short. Shoulders are lookin a bit weird. Its fine.
We kept going anyway and eventually the monster variant of the cultist
Ok, this might be a bit of an issue. He’s really short now. But maybe it’s fine?
Then the Constructor shared the same skeleton as well. But…uh, the proportions thing became a bit more of an issue.
Can we keep it?
As much as I love everything about this, we couldn’t keep it.
So our solution before was to make custom animations for every character, even though they shared the same skeleton. This solves the proportion problem, but introduces a ton more work.
One of the big advantages, is that if the two skeletons proportions don’t match, you can use IK for it to sorta figure it out. The idea is to have both skeletons have a goal, and then the IK tries to match it.
IK in Action
So we added them to the hands and feet, and just like that, we can fix incredible common problems across ALL OF THEIR ANIMATIONS.
Turns out there’s a huge problem. This system was intended for mostly human proportions, so when you introducing a character that towers above everyone else, it sorta breaks. Like really badly.
Uh oh
So its a bit of give and take. Good news is that it works for most characters, and for the big ones, we still have to fix them up manually, but its not as bad as before. With this research out of the way, we should in theory be able to add about 10 missing characters with all animations in about a week.
Behold. I have come to thee this week bearing great gifts in the form of animations.
Much like last week, this week is all about animations. BUT TO WHAT END?
The goal was simple. Get Dawksin back in action with the same criteria as before. No big deal, we did it before and we can do it again… BUT BETTER.
Dawksin, but better
So, what would we do differently?
Making Some Changes Around Here
Dawksin differs from the default player character in a pretty significant way. He can equip and unequip his weapons after being out of combat for a bit. This actually existed in the last project for a little while, but we had to shelve it because we didn’t have enough time to implement it properly before getting the demo out.
But this time around, he’s going to make full use of his new passive and be able to summon his swords and get a damage boost on his first attack. So lets jot down what we need for that.
• The same animations as before, but without holding anything. • That’s a lot of animations. • Good lord that’s so many animations. • Why did we think this was a good idea? • Its not too late, we can just not do this.
So we made all of the animations.
Leveraging all of the animations we already made, it was relatively straightforward, just incredibly time consuming.
Animation retargeting lets us take existing animations and roughly match them to a different character, but with the trade-off that they’ all have some problems. Mostly things like hands not matching up, feet going through the floor, my will to live quickly fading, etc.
90% of the way there
Took all of those animations and edited them to fit Dawksin and made one set for him holding his swords and a second one where he’s not holding anything.
He can now move in all directions, dodge, turn in place, all that good stuff. So what’s left? Oh yeah.
ATTACKS
Dawksin has an interesting playstyle where he deals relatively little damage, and instead leaves shrapnel stacks inside enemies to rip out later as execute damage. So, his attacks need to be quick so he can leave tons of stacks in each enemy he hits.
The usual 4 attacks isnt enough, so we’re going to up that a bit and have 7 attacks total.
Light Attacks
An opener that’s fairly quick to start
5 attacks that ramp up in speed heading towards the end
A finisher with a brief pause before looping back to the beginning
Excuse me sir, 7 Attacks in 4 seconds is illegal. We’re going to have to issue you a citation.
Might need to adjust the speed faster or slower when we do a bit more testing, but I have a hunch it might be too fast.
HEavy/Charge Attacks
Heavy attacks can all be charged, so by design, these cant be fast.
Same 3 combo setup as before
Easy Peasy
Situational Attacks
Each one of these has a light attack and heavy attack variant.
Dodge Attack
Sprinting Attack
Air Attack
Ok, so Dawksin is just about done in less than a week. Pretty cool, now we can move on to-
Wouldn’t it be cool if he also had attacks that are unique when he summons his weapons?
What? That’s so much more work. He already has double the amount of animations.
After 0.1 seconds of testing. Yes. It would be cool, and he feels incomplete without it.
Now we have to do it.
Yeah. That feels much better
Rinse and repeat for every attack type and now we can call him complete. I’ll keep all the different variants under wraps for now so you can try them all youself in game.
All in all, not too bad for a weeks worth of work. Its certainly way more than the standard 65 animations from last week.
Mortal Rite is a solo or multi-player, co-op game that needs to offer a challenge to players. How do we challenge players when they are solo or in groups of various sizes without having the experience be too hard for a solo player or too easy as soon as you group with someone?
Well, I’m not sure anyone can give an exact answer for this problem. So, here’s how I hope to achieve the possibly unachievable.
But first, some information and a history of decision making about enemies and placing enemies in levels:
In the beginning, we needed a way to put enemies in levels and have them do things. We needed to define what enemies would be doing in general and what tools a level designer would want to have to make levels work.
What does an enemy do when it’s not attacking the player?
Enemies obviously need to attack players. That part is clear. But when the enemy isn’t attacking the player, it needs to do something else. The list that I came up with initially was based on the games that I had played before:
Idle: Stand around and do nothing until a target is acquired.
Wander: Move around in a radius until a target is acquired.
Patrol: Path from waypoint to waypoint
Guard: Stand in a specific place facing a specific direction and having a specific guard idle
How does a level designer place an enemy in a level?
Poof! Placers exist.
Placer that will spawn a Ghoul for 1 or more Players when a trigger volume is triggered
Placers can be put in any level that tells the proper systems what type of enemy to spawn and where to spawn it. Placers allow systems that preload enemies to determine how many enemies a level needs and decouples the enemy count from how many enemies are in a level at any time – specifically: Not all placers need to have an enemy spawned, but it has the information to spawn an enemy if needed. Placers decouple needing to know how each enemy works and how it should spawn from the enemy itself. The placers just handle everything and only present the level designer with the information and settings that they should care about.
Blue: Navigation Mesh; Yellow Placer drawing attention to the placement of the Ghoul.
Placers also provide feedback about where an enemy can spawn. In order to have enemies move around the level, the level has a Navigation Mesh that the Ai controlling the enemy needs to move from place to place. Placers will turn red when a level designer tries to put an enemy in a location that fails validation, and placers will turn green when the location passes validation.
How does a level designer configure an enemy to do something specific?
Placers have settings to determine what enemy spawns, what mode they should spawn as (e.g.: Idle, Wander, Patrol, etc.), and any other information that is needed. As we add new enemies or spawn modes, the placers are updated with the new enemy types and spawn modes as necessary.
How does a level designer determine when an enemy will spawn?
Placers can be configured to spawn an enemy instantly, after a delay, when another placer’s enemy dies, or when a trigger happens (e.g.: when a player walks into an area, or pulls a lever, etc.). Placers can also interface with Placer Proxies. Placer Proxies can be linked with one or more Placers or one or more Proxies. Placer Proxies can trigger off several events: Spawn, Death, etc.
Test your might
By using a combination of Placers and Placer Proxies, complex spawn logic can be achieved.
Enemy spawn logic using Placers and Proxies
Placers can also be configured to spawn based on how many players are in the level using simple less than, greater than, and the like logic. Example of this is for a single player playthrough you only want one Heavy Archer on the bridge shooting at the player, but when you have 3 players in the level you want two Heavy Archers on the bridge shooting at the players. This adds more complexity, because the Placers and the Proxies also need to be smart enough to trigger off each other if the player counts didn’t meet the linked Placer or Proxy spawn criteria. Kind of difficult to articulate this exact scenario.
What does the Nanite Lumen Test Level look like with all the placers all over it then?
It is. Well, it’s more complicated than it needs to be. One of the things that we keep running into is making things overly complicated until we know exactly what we need to do. Once we know exactly what something needs to do, we can simplify it.
Summary
Because of Placers and Placer Proxies, Level designers can place enemies:
in specific locations
in specific modes
with specific spawn criteria
for specific player counts
Because of Placers we can also preload pools of enemies that can end up saving resources because we don’t need to have all 169 enemies used in the Nanite Lumen Test level spawned.
Hey! I saw on TikTok that you had to spawn all the enemies needed ahead of time!
Right. Originally, we thought we could just spawn in enemies when and where needed. This seemed to work for most of the enemies but there was a point in development where spawning in an enemy at runtime would cause a huge hitch. That’s not good.
We didn’t know at the time that this huge hitch was caused by an issue with how we setup cloth on specific enemies, and that there was an issue with how cloth initialization was being handled by the engine. Knowing is half the battle.
Once we had the hitches, we thought that we needed to pool the enemies so that we could just move them into place and turn them on. We went through a few different versions of pooling:
Pooling Versions:
Small pools with the hope that we don’t run out of pooled enemies (e.g.: Placers for 30 ghouls in the level, but a pool of 20 ghouls because we didn’t think it was possible to fight through 20 ghouls before recycling ghouls happened).
Pools for all enemies in the level. Never run out.
Pooling version 1 had the issue of having the pools run out and needing to fall back to runtime spawning. Not good.
Pooling version 2 had the issue of needing to have a ton of pooled enemies hidden somewhere. Even though the enemies were hidden, and they were not running any logic, they still ate more resources than we wanted. Knowing is all of the battle?
All versions of Mortal Rite that have been played by the public have had some form of pooling of enemies, because, based on how the development of Mortal Rite has gone, we needed pooling in order to solve problems caused elsewhere.
“I told you all that to tell you this…”
Tater Salad
We are always looking for ways to do less as developers. There’s so much to do that any place that a developer can save time is helpful, but we never want to compromise on specific things. Example is cloth. We could have sacrificed cloth in order to solve the spawn hitches, but we decided that we cannot give up the cloth. The cloth is too important for our characters.
Alex would often ask, “Isn’t there a simpler way?”
Isn’t there a simpler way?
Alex
And yes, basically there is.
Now that we’ve been through all of these different ways of not really handling spawning good enough, I can reveal the new master plan for Mortal Rite Version Next and answer more of the original question:
“How do we challenge players when they are solo or in groups of various sizes without having the experience be too hard for a solo player or too easy as soon as you group with someone?“
Me, earlier.
The new master plan for levels is as follows:
Technology:
Make use of World Partition and Data Layers to manage levels.
World Partition
Allows the loading of sections of levels so that clients don’t need to have everything loaded
Will load enemies that are within range of the client if the enemies are in the level itself. This handles the pooling issues.
Data Layers
Allow levels to be split up into sections that can be loaded and unloaded at level load time or at runtime on demand.
Make use of Placers because the placer workflow is known to the whole team and makes working with enemies easier.
Levels will consist of a base level that is always loaded no matter what, at least one extra level data layer that contains interesting parts of a level, and at least one enemy data layer that contains the enemies for the level.
Base Level + Level Layer + Enemy Layer = Player Experience
At level load time, we can choose which combination of data layers to load. Loading different combinations of level data layers and enemy data layers allows us to change the layout of the level, and the enemy count and enemy composition.
Having everything be defined in a Data Layer means that it’s easier for a level designer to just do their thing and not have to worry so much about Placer configurations for the correct number of enemies for the correct number of players. It means that a level designer can just open the Nanite Lumen Test level, hide all data layers except for the 3 player version of the level, and then get to work. The systems will do the rest of the work.
Levels can and will be made with several different level layouts and several different enemy layouts that can be cycled through either at load time or after the level has loaded. This means that each time a player enters a level there is a chance that they will see a different combination of level layout and enemy layout, which increases the challenge that a single level will present, and will keep players on their toes.